 This is a Workflow Guide for building a Digital Image Archive in a media bank (Digital Asset Managment)
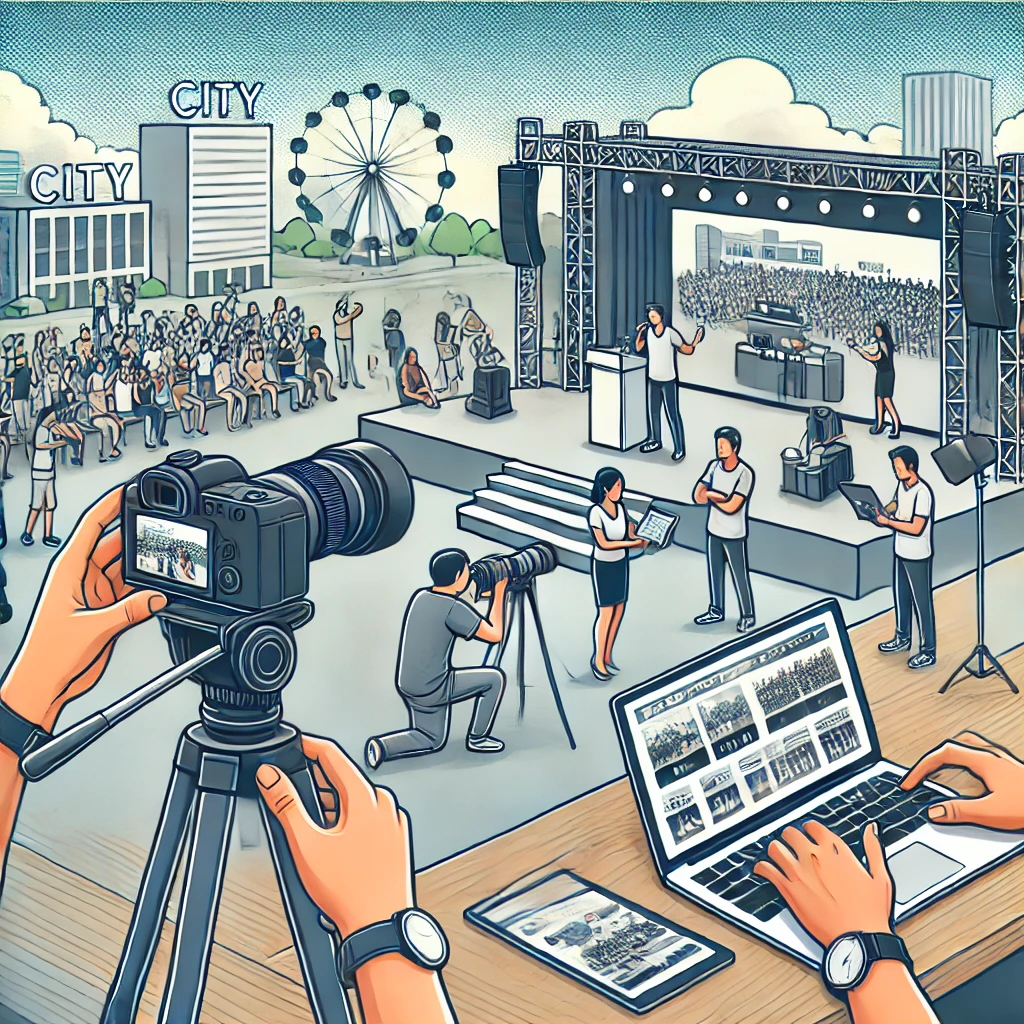
If your images are scattered across different devices and cloud services, it can be challenging to keep them organized. Start by gathering all your images in a central location, such as a media bank (DAM). This makes it easy to organize, find, and share images, ensuring everything is manageable from one place.
When building a digital image archive in a media bank, it’s important to follow a systematic workflow to make the images easy to find and use across the entire organization. A good media bank is one that is actively used and functions as your smart media room. Below is a step-by-step guide to help you effectively organize and describe your images.
1. Planning
-
Define the goals: Determine the purpose of the image archive and the target audience that will use it. Think about what type of images will be archived and who will be using them. What will the images be used for? What information do you need about the images?
-
Plan the structure: Plan a logical hierarchical folder structure for the images. Think of this as a traditional way of organizing files on your computer using a hierarchy of folders and subfolders. For example, you can organize the images by project, subject, date, or purpose. Consider how users are likely to search for images and build the folder structure based on that. You can create broad folders such as:
- Product Images
- Event Images
- Team Photos
- Client Projects
- Staff
- Visual Materials
- Marketing Campaigns
You can create subfolders for more detailed organization. In the “Marketing Campaigns” folder, for example, you might create subfolders for different campaigns like “Spring Sale 2024” or “Christmas Campaign 2024.”
Some services, like MediaBank, allow files to be placed in multiple categories and albums without copying the files. The files are simply linked to these categories while physically stored in different folders. Categories and albums can be hierarchical and follow a certain logic. Material can be in one category, but also in another.
-
Define user rights: Rights management is an issue that almost always comes up when implementing a new image archive. Rights management and security are areas where Communication Pro has long focused on, and the functions for this in the media bank are both powerful and relatively easy to use.
Most users want to control access, so that certain users only see a limited selection of files, while others see everything. You should have access to all material, but photographers, advertising agencies, subsidiaries, or different internal departments may only have access to their own material or possibly shared material that you have previously specified.
So, configure secure user rights in the media bank. Decide who has the right to add, remove, and edit images. Also, specify who can see which images. This helps keep the content organized in the future as well.
Multiple folders or categories are certainly an option and have their advantages, but in this context, the solution with user rights is simpler because only one folder structure is needed.
A hierarchical folder structure means:
- Less folders or categoriy trees to maintain
- Easier user and rights administration
- A clearer and more understandable solution for everyone
Clearly defined user rights are one of the key features required to realize the idea behind a media bank for everyone.
Tip: A well-planned structure saves time and reduces unnecessary work later. Keep the structure simple and consistent.
2. Selecting and Processing Images
-
Select the images: Carefully choose which images should be added to the image archive. Remove any duplicates and blurry images. Platforms like MediaBank help automatically identify and remove duplicates. This ensures that you only have one version of each image in your library.
-
Process the images: Process the images as needed before adding them to the archive. This can include resizing, adjusting colors, or correcting other factors that affect quality.
Tip: Make sure the images are always of high quality and consistent. Use image editing software if necessary to ensure the images meet the organization’s standards.
-
3. Metadata and Describing Images
-
File names: One thing that's easy to forget is that all media banks read the file name and make it searchable. By giving files smart names, you can automatically sneak in metadata during indexing in the system. This means less time and less processing in the media bank.
Develop a naming policy. For example, if you publish your files externally, imagine someone calling to ask about the file “DSC0238.jpg” they just downloaded. What do you do if there are many files with that name? Which image is the caller looking at?
Name the files clearly and consistently. A good file name includes, for example, a description of the content, the date, and possibly the project name. Establishing a file naming policy or guidelines is about ensuring that files have unique names. Two files cannot have the same name.
Also, try to keep your policy as simple as possible. The simpler it is, the easier it is to remember.
-
Metadata (EXIF/IPTC): Metadata is descriptive data about the file. Add as much metadata as possible to the images. This can include information such as the date the photo was taken, the photographer’s name, location, and camera settings.
- Add descriptive titles: Describe what is in the image.
- Use descriptive keywords: What words would you use to describe the image?
- Add copyright information: Who took the photo?
- Add license information: Is the image copyrighted?
Some media banks offer features to validate that metadata is correctly filled in. Check if these features are something you can use to “remind” users to follow the categorization policy.
Don’t recreate metadata that already exists! A common mistake is creating a category tree that includes metadata that is already stored elsewhere in the media bank. File type is something the media bank automatically recognizes and can already be used as a search or filtering criterion. Other examples of existing metadata include:
- Different types of dates
- The name of the person who cataloged the file
- Color mode of images
- Image orientation (portrait/landscape)
-
Keywords and tags: Add relevant and descriptive keywords and tags to the images. Use common terms that describe the image content, and consider using synonyms to make the images easier to find. Use different filters, such as date, file type, and other metadata. Use tools that let you tag multiple images at once and give them uniform and descriptive names.
-
Add a description: Write a text that describes the image content and helps to understand the image context. This can include information about where and why the image was taken. Regularly check and edit image metadata to ensure they remain accurate and relevant. The more detailed the metadata, the better search results you will get.
-
Manage image versions: When images are edited for different purposes, keep track of the different image versions using the media bank’s version management, which streamlines storage needs and keeps old file versions organized. Fill in the alternate text for any image to enable the images to be found by disabled users anywhere on the internet.
Tip: Use clear and consistent keywords. Good metadata makes images quicker and easier to find.
4. Storing and Organizing Images in the Media Bank
-
Upload the images: Upload the images to the media bank according to the planned folder structure, category structure, or album structure. Make sure all metadata and descriptions are included.
-
Organize folders: Organize the folders logically and so they are easy to navigate. Use subfolders if needed, but avoid a too complex hierarchy - not too detailed. A common phenomenon is overthinking it… The folder structure you create can easily become too detailed or, rather, have too many levels.
Choose the option that best reflects how customers think when they consume your products or services. This way, you won’t have problems if you later decide to give customers access to all or parts of your media bank.
-
Linking and cross-references: If the same image can belong to multiple categories and albums, consider linking it to several albums or categories.
Taxonomy is about classifying or grouping things into a hierarchical system based on common relationships or characteristics. The purpose of taxonomy in media banks is to ensure that files are tagged in a consistent way so they can be found by others at a later time. Files that share common characteristics can be grouped easily by linking them to the same category.
Tip: Use a structure that is easy to understand, even for new users. A too complex structure can make it difficult to find images.
5. Optimizing Search Functions and Usability
-
User training: Train the organization’s staff to use the media bank effectively. Show them how to search for images and how to use keywords and metadata. Consistently communicate with your teams about the process you’ve created for organizing images.
-
Regular maintenance: Set aside time for regular maintenance. This ensures the media bank remains up-to-date and useful. Regularly update and clean up the image archive. Remove unnecessary images and make sure all new images are organized and well-described. Regularly check image titles, descriptions, tags, and other important metadata to ensure they are accurate and up-to-date.
Tip: Fully utilize the media bank’s search functions and ensure they support various search criteria.
6. Continuous Improvement
-
Collect user feedback: Regularly ask for feedback from media bank users. This helps identify problems and improve the system.
-
Analysis and optimization: Track how often and what types of searches are made and use this information to improve metadata editing and folder structure.
Tip: Keep the archive alive and updated. Small improvements and continuous maintenance ensure that the archive remains useful for a long time.
7. Ensuring Content
-
Backup: The media bank automatically backs up your digital images and other files. You no longer need to worry about whether your images are safe or backed up.
-
Integrate with other tools: Integrate your media bank with other tools and platforms you use to achieve optimal workflows and increased productivity.
Tip: By following these guidelines, it becomes quick and easy to find images in the media bank, saving time and effort for all users. The goal is for all users to quickly and easily find the images they need.
A well-built digital image archive facilitates the organization’s daily operations and enables the efficient use of images. The key is clear planning, systematic metadata editing, and user training. Keep the process flexible so you can update and improve the archive according to users’ needs.
Interested in building an image archive? Check out our easy-to-use cloud-based MediaBank SaaS.
If you have a large collection of unclassified images in your image bank or are transferring images to a media bank, artificial intelligence can save time and resources.
Check out how AI-assisted search offers a fast track to finding the right files in the media bank.
 |
Author Rolf Koppatz Rolf is the CEO and consultant at Communication Pro with long experience in DAMs, Managing Visual Files, Marketing Portals, Content Hubs and Computer Vision. Contact me at LinkedIn. |